Laser
Member
I've noticed a lot of people analyzing distant hazy mountains, islands, or horizons in photos, and doing like I used to do and either just squint, or try to enhance the images with contrast or levels controls or something. But recently I've found out about the UnSharp Mask filter, which, contrary to what its name sounds like, enhances the sharpness and detail in hazy pictures.
The main advantage of the unsharp mask tool is that it can enhance detail and contrast all across both the light and dark regions of an image in a single pass. Large contrast adjustment on the other hand, tends to make the light regions solid white and the dark regions solid black. Another big advantage is that it tends to be quicker and easier because it often does well with default settings. At less extreme settings, it can simply make pictures a little prettier when they're suffering with too much blue haze. This could be great for low contrast horizon curvature analysis.
I think most image editors have the unsharp mask filter. The version of Gimp that I'm using has it near the bottom of the Enhance section of the Filters menu.
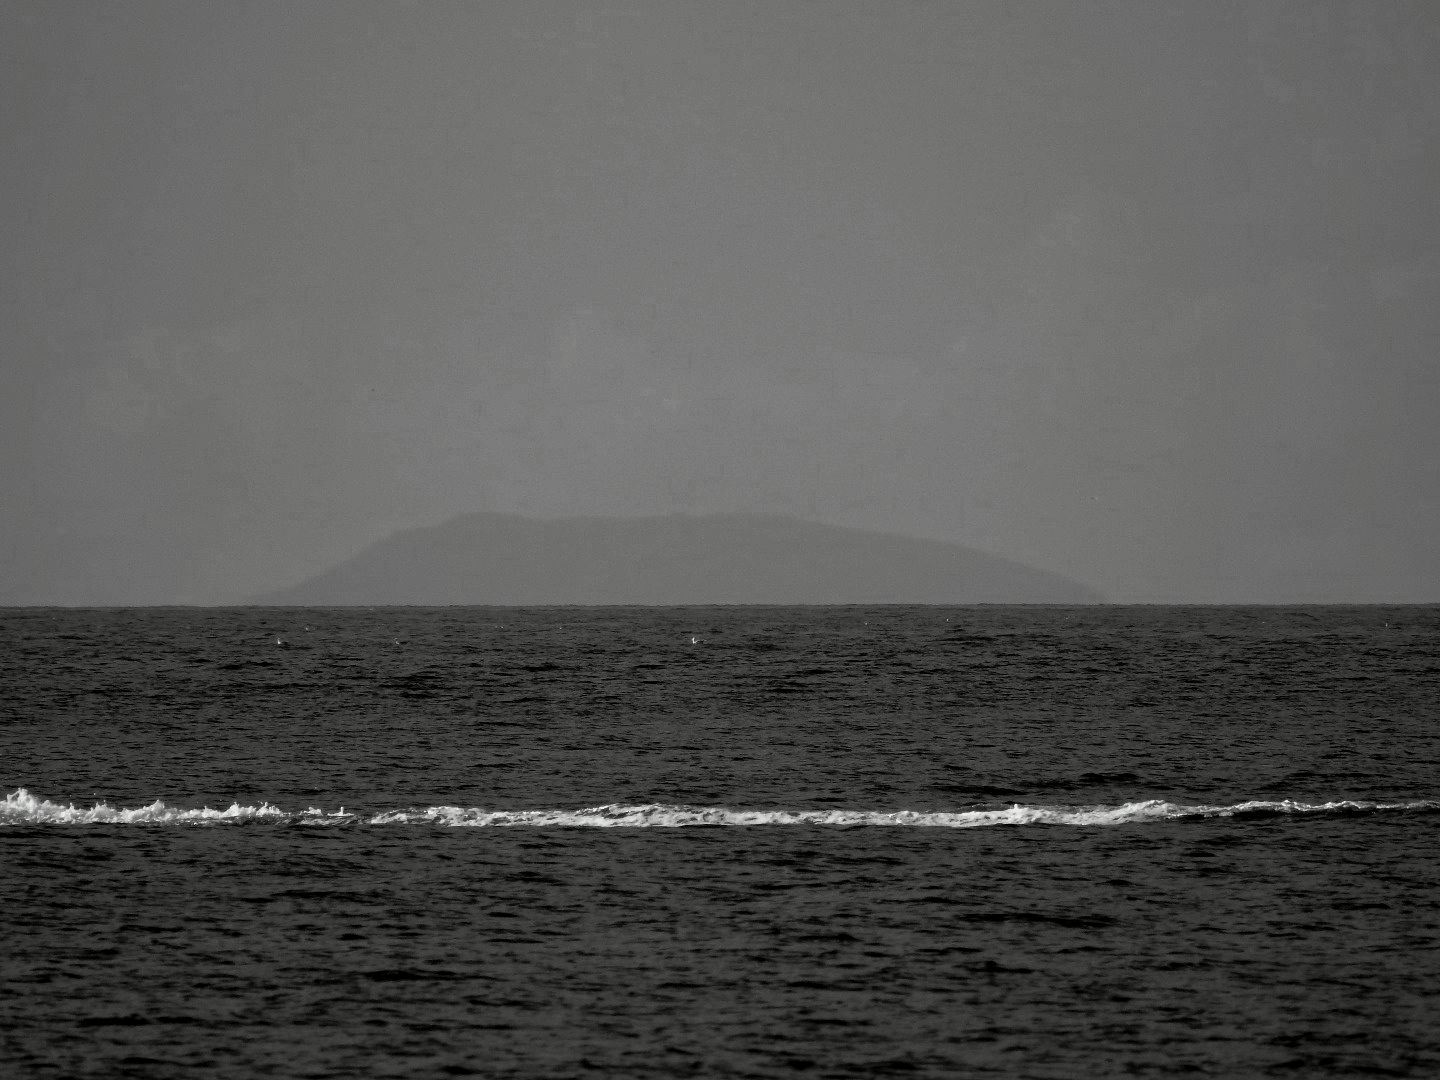
Here is an example of it's effect on an image that was analyzed here on Metabunk previously.
Before:

After:

The main advantage of the unsharp mask tool is that it can enhance detail and contrast all across both the light and dark regions of an image in a single pass. Large contrast adjustment on the other hand, tends to make the light regions solid white and the dark regions solid black. Another big advantage is that it tends to be quicker and easier because it often does well with default settings. At less extreme settings, it can simply make pictures a little prettier when they're suffering with too much blue haze. This could be great for low contrast horizon curvature analysis.
I think most image editors have the unsharp mask filter. The version of Gimp that I'm using has it near the bottom of the Enhance section of the Filters menu.
Here is an example of it's effect on an image that was analyzed here on Metabunk previously.
Before:
After: